Edit DNS hosts file is important for troubleshooting issues, test websites, setup a local website with custom domain and more. In this tutorial we going to learn How to Edit DNS Hosts File and setup a local website in Windows.
Editing DNS Hosts File in Windows
In Windows, the hosts’ file is located at: C:\Windows\System32\drivers\etc\hosts and You will need to edit it with administrative privileges.
Steps to edit the hosts’ file
- Click the Windows button and type Notepad in the search bar.
- Right click on Notepad and then Run as Administrator.
- You’ll be asked, “Do you want to allow this app to make changes to your device?”. Choose Yes.
- In Notepad, choose File then Open.
- Navigate to C:\Windows\System32\drivers\etc\hosts. If you don’t readily see the host file in the C:\Windows\System32\drivers\etc directory then select All files from the File name: drop-down list, then click on the hosts file.
- Add the appropriate IP and hostname at the end of your hosts’ file, select save and close the file.
- Flush the DNS cache for the computer to recognize changes to the file
Steps to flush DNS cache
- Click the Windows button and search command prompt.
- Right-click on command prompt and then Run as Administrator.
- You’ll be asked, “Do you want to allow this app to make changes to your device?”. Choose Yes.
- Type the following command in the terminal and press Enter
ipconfig /flushdnsSetup a local website with custom domain in Windows
To setup a local website we need a web server. In this tutorial we will use apache web server included in wampServer. To install wampServer follow this link.
We are going to setup a website using this custom domain www.newsite.local wich will display the text “Online beginner”.
- Go to to the directorie www inside WampServer installation folder (example c:\wamp).
- Create the folder newsite.
- Inside the folder newsite, create a text document and open it with Notepad.
- write the text Online beginner.
- In Notepad menu, go to File and then Save as.
- Type write index.html in file name.
- In file Type select all files.
- The file index.html is the website, in this tutorial we will not cover the proper syntax for these type of files.
- Edit the file C:\Windows\System32\drivers\etc\hosts.
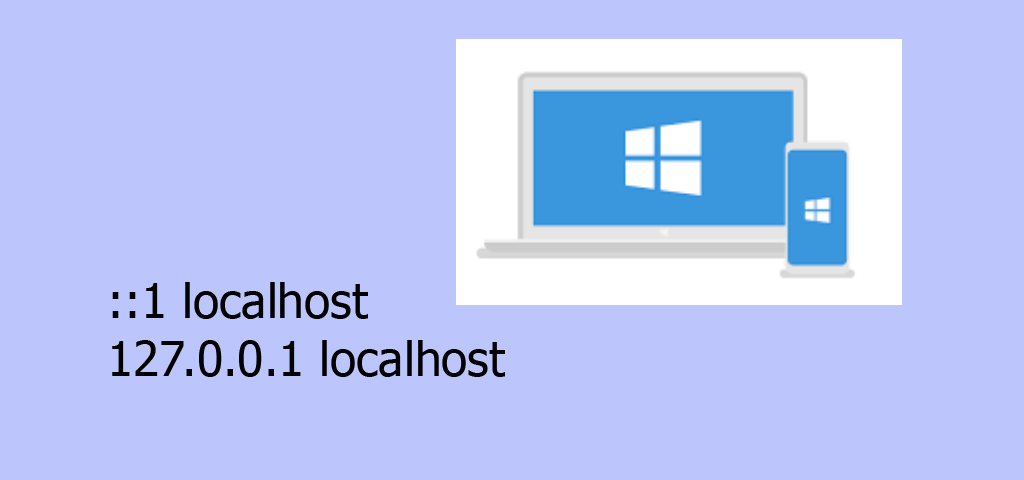
- Add this line: 127.0.0.1 www.newsite.local.
- This means that when you type on your browser www.newsite.local the computer will redirect the request to the local address 127.0.0.1, port 80.
- The requests on port 80 will be handlad by apache web server, so we must configure apache to display the right website when the the domain www.newsite.local is requested.
- To configure Apache we have to create VirtualHost file and then restart WampServer.
Creating VirtualHost with WampServer
There are 2 options to accomplish this:
- Edit the apache’s VirtualHost’s file and add new one
- Go to WampServer installation folder (example c:\wamp).
- Edit the file bin\apache\apache2.4.41\conf\extra\httpd-vhosts.conf.
- In the bottom add new VirtualHost and then close the file.
- Restart Wampserver.
- Use WampServer menu to create new virtual host
- Using wampserver menu navigate to VirtualHost management or open this link http://localhost/add_vhost.php
- ype the name (www.newsite.local) and absolute path(c:/wamp/www/newsite) and then click the button “Start the creation of VirtualHost”
VirtualHost example
<VirtualHost *:80>
        ServerName newsite.local
        ServerAlias www.newsite.local
        DocumentRoot ${INSTALL_DIR}/www/newsite
        DirectoryIndex index.html

</VirtualHost>
This tutorial was created using WampServer 3.2.0